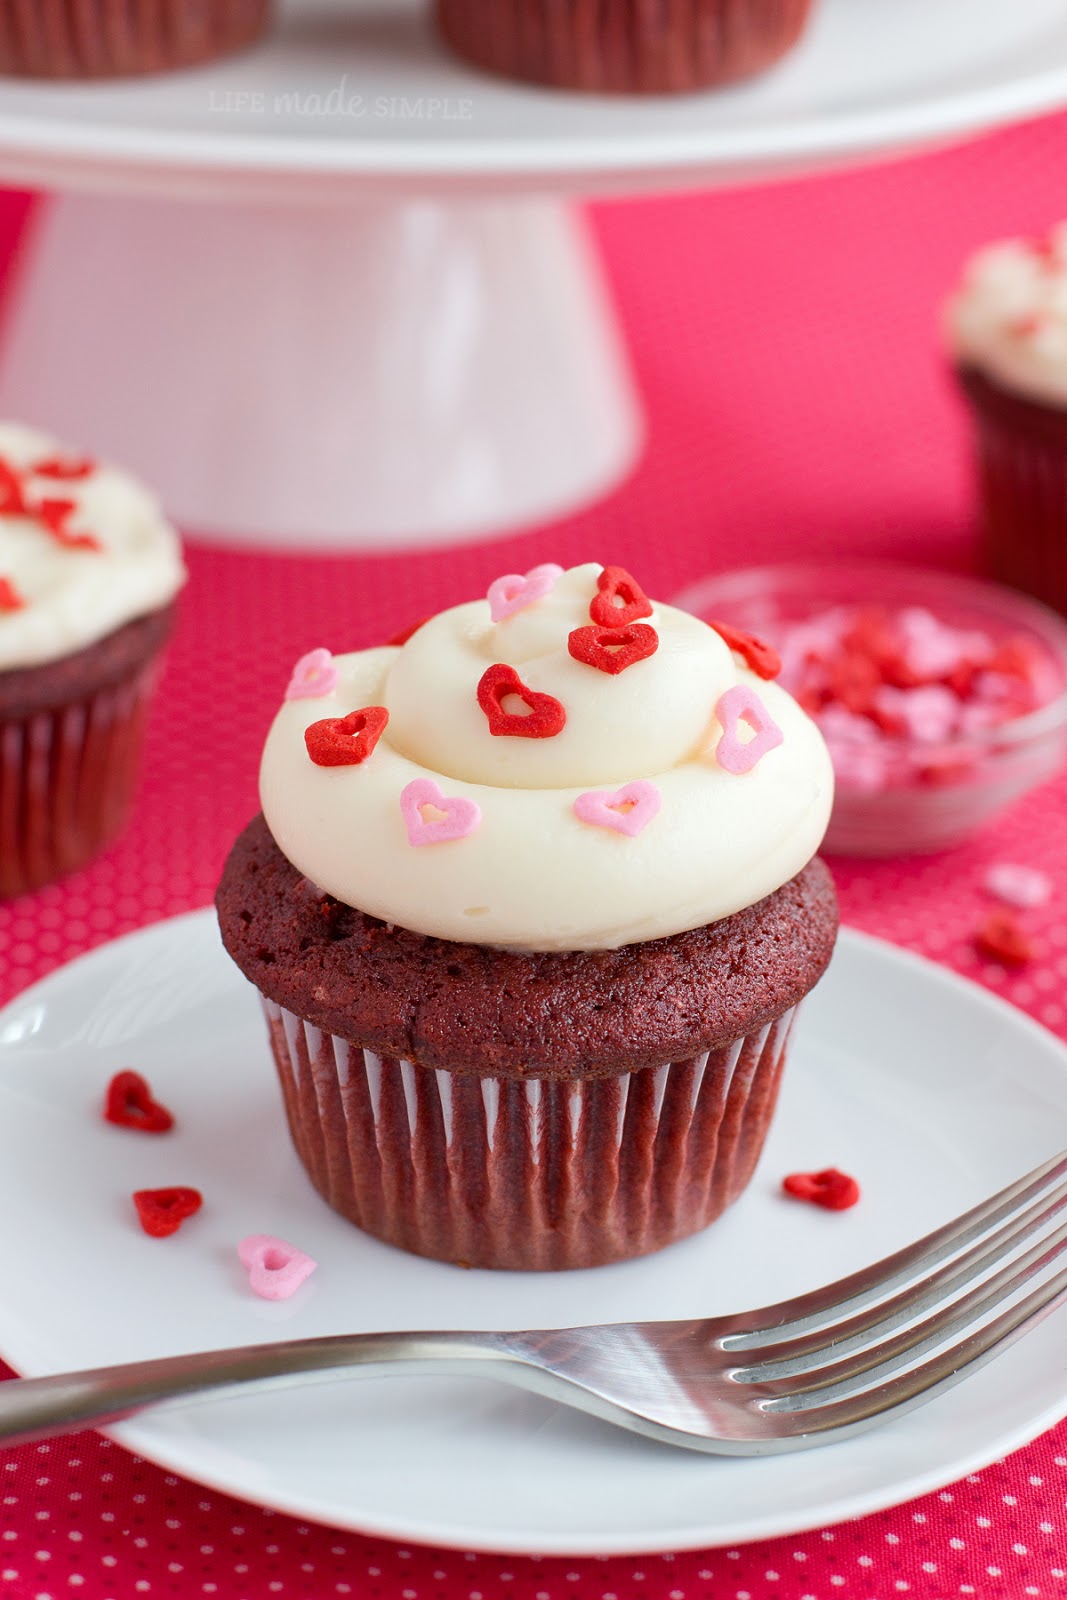
Red Velvet Cupcakes with Cream Cheese Frosting

2

Monday, February 3, 2014

Red Velvet Cupcakes with Cream Cheese Frosting | Life Made Simple
Last month when I shared my Mini Red Velvet Donuts over at Lil' Luna, I mentioned that I had never tried anything red velvet before! After making (and eating) those delicious baked donuts I decided that the next thing I needed to make was cupcakes! Red velvet cupcakes just seem like a classic Valentine's Day treat to me. I wanted to stick with traditional cream cheese frosting but didn't want it to be runny or soupy. So I did a little research and created a recipe that isn't loaded with sugar and can be easily piped. Too good to be true? It's not! I've got a few tips and tricks that will help keep this frosting tasting as good as it looks!

Classic Chocolate Cake

4

Monday, January 27, 2014

Classic Chocolate Cake | Life Made Simple
Layered cakes aren't my forte. If you've peeked at my recipe index you'll notice that it's seriously lacking in the cake department. I've always struggled with issues like rise, sticking or texture. I'm sure many of you have faced similar problems. It's downright frustrating to go through all of that work (and ingredients) only to end up with a cake catastrophe. That's why I usually prefer making cupcakes. They're easy, you can scale down the recipe and they're just more fun! So when you do see a cake recipe pop up on here, you know it's gotta be a good one!

Peppermint Frosted Brownie Sugar Cookies

1

Thursday, December 19, 2013

Peppermint Frosted Brownie Sugar Cookies
On Tuesday I had the opportunity to go to Tatertots & Jello's cookie exchange with my good friend Mandy from Baking with Blondie. I always love getting together with her, especially when it involves food- because we're bound to have lots of fun! Anyway, we had a week or so to come up with a cookie to bring and it took me up until the day before to finally decide on one! I think it had something to do with the ease involved. I desperately needed a dough that I could make, refrigerate and bake once our little one went to bed for the night. These cookies were the perfect solution! The dough came together in a matter of minutes especially since there's no chocolate melting involved (which is always a big time hog). Instead the dough gets all of its rich fudgy goodness from cocoa powder and chopped semi-sweet chocolate. After a few hours of refrigeration I rolled it out, cut the snowflakes and placed them onto a Silpat-lined sheet and then in to the oven to bake. They puffed up beautifully, nice and thick! With only a few minutes of baking time required, they came out smelling incredible and had perfectly crisp edges with a soft chewy inside- just like brownies. I whipped up some peppermint frosting to spread over top and then added peppermint candy cane sprinkles as a finishing touch. They were absolutely delicious... and such a fun little twist on a Christmas classic!

Peppermint Frosted Brownie Sugar Cookies
Ingredients
3 c. all-purpose flour
⅓ c. unsweetened cocoa powder
⅓ c. dutch-process cocoa powder
1½ c. sugar
1 c. (2 sticks) butter, room temperature
2 large eggs
2 tbsp. heavy cream
½ tsp. baking power
½ tsp. salt
1½ tsp. vanilla extract
½ tsp. peppermint extract
⅓ c. finely chopped semi-sweet chocolate (I used half of a Ghirardelli baking bar)

Peppermint Frosting:
2 ½ c. powdered sugar
½ c. (1 stick) butter, room temperature
2 tbsp. heavy cream
pinch salt
¼ tsp. vanilla extract
½ tsp. peppermint extract
1-2 drops red food coloring

Peppermint candies, baking chips or sprinkles for garnish

DIRECTIONS:
1. In the bowl of a stand mixer, cream butter and sugar until light and fluffy, about 2 minutes. Add heavy cream, vanilla and peppermint. With mixing speed on low, add one egg, mix then add the other. 
2. In a medium size mixing bow, whisk together flour, cocoa powders, baking powder, and salt. With mixing speed on low, gradually add the dry ingredients mixing until no flour/cocoa "pockets" remain. Add the chopped chocolate and mix until incorporated. Wrap the dough in plastic and place in the refrigerator to chill for 1 hour.*
3. Preheat oven to 350 degrees. Remove dough from refrigerator and roll out on a lightly floured surface to approximately ¼" thick. Cut into desired shapes, place onto a parchment-lined baking sheet for 8 to 10 minutes or until the edges are firm and the centers are soft and puffy. Remove from the oven and transfer to a wire rack to cool.
4. While the cookies are cooling, prepare the frosting by beating all of ingredients in the bowl of a stand mixer fitted with the whisk attachment for 2-3 minutes or until light and fluffy. Spread onto cooled cookies and top with desired peppermint garnishes.
*Dough can be made in advance and refrigerated overnight.
Adapted from Smitten Kitchen, Brownie Roll-Out Cookies | Makes 2-4 dozen, depending on cookie cutter size

Biscoff Gourmet Cupcakes

21

Monday, July 16, 2012

One of my favorite things about flying on Delta is getting those addicting Biscoff cookies mid-flight. Usually Stephen and I will eat them in a matter of minutes, but during this past trip I had multiple connections, enabling me to build up a little stash. I know I'm not the only one who has thought of ways to use these cookies, but since we also have Biscoff spread, I thought I'd try making cupcakes with Biscoff flavored buttercream. When I mentioned making these to Stephen he seemed skeptical. After taking a bite of one, he was hooked and I was smitten! What's not to love?

Biscoff Gourmet Cupcakes
Ingredients
1 c. all-purpose flour
¾ c. sugar
¼ c. brown sugar
½ c. (1 stick) unsalted butter, room temperature
2 eggs
½ c. + 2 tbsp. sour cream
3 tbsp. whole milk
½ c. Biscoff spread (creamy*)
¼ c. Biscoff cookies, crumbled
1 tbsp. vanilla extract
¼ tsp. salt
½ tsp. baking soda
¼ tsp. cinnamon

Biscoff buttercream frosting:
½ c. (1 stick) unsalted butter, room temperature
⅓ c. Biscoff spread
1½ tsp. vanilla extract
¹⁄₈ tsp. salt
1½ c. powdered sugar
1½ - 2 tbsp. heavy cream

Topping:
Biscoff cookies for garnish

DIRECTIONS:
1. Preheat oven to 350 degrees. Line a muffin tin with paper liners. Set aside.
2. In a medium size mixing bowl, add flour, salt and baking soda, whisk to combine. Set aside.
3. In the bowl of a stand mixer, beat together butter, sugars, sour cream and Biscoff spread. With mixing speed on low, add eggs one at a time until incorporated.  Add milk, vanilla, cinnamon, mix.
4. Add dry ingredients just until combined, about 30 seconds. Remove bowl from stand and fold in cookie pieces.
5. Scoop batter into prepared pan, filling each liner ¾ of the way full. Place in oven and bake for 18-22 minutes or until a toothpick inserted into the center comes out clean. Remove and place on a wire rack to cool for 10 minutes. Remove cupcakes from pan and allow to cool completely (25-30 minutes).
6. While the cupcakes are cooling, prepare buttercream frosting. In the bowl of a stand mixer, beat the softened butter and biscoff spread on medium speed until light and fluffy. Add vanilla extract and mix well.
7. Turn speed to low and being to add the powdered sugar (it will look like bread dough). Once the powdered sugar is added, pour the milk a little bit at a time, while mixer is on. Mix until combined. Add milk until the frosting reaches desired consistency (it should be rather stiff). Beat on medium-high speed for 4-6 minutes until fluffy. Frost cooled cupcakes as desired.
* I was unable to find creamy at my local supermarkets, so I used crunchy. Only the texture of the frosting will change if using crunchy.
Stephen + Natalie | Makes approximately 12 cupcakes / frosting for 12 cupcakes


Life Made Simple All rights reserved © Blog Milk - Powered by Blogger